How Computer Vision Identifies Surface Defects in Aluminium Manufacturing
Published by: ALUTimes | Date: July 18, 2025
Table of Contents
- Introduction
- Why Surface Inspection Matters
- How Computer Vision Works in Manufacturing
- Common Surface Defects in Aluminium
- Real-Time Image Processing
- Integration with Production Lines
- Benefits of Computer Vision in QC
- Challenges and Limitations
- Future of Surface Defect Detection
- Conclusion
- Disclaimer
Introduction
Surface quality is a critical parameter in aluminium manufacturing, especially for extruded components used in architecture, automotive, and aerospace. Even small defects like pitting or scratches can result in product rejection or rework. This is where computer vision comes into play. Using machine learning and real-time imaging, it automates the detection of imperfections more reliably than human inspection.
Why Surface Inspection Matters
Defects on aluminium profiles affect not only aesthetics but also mechanical integrity and paint adhesion. Industries that rely on perfect finishes—like construction and transport—demand defect-free components. Manual inspection, however, is inconsistent and labor-intensive.
How Computer Vision Works in Manufacturing
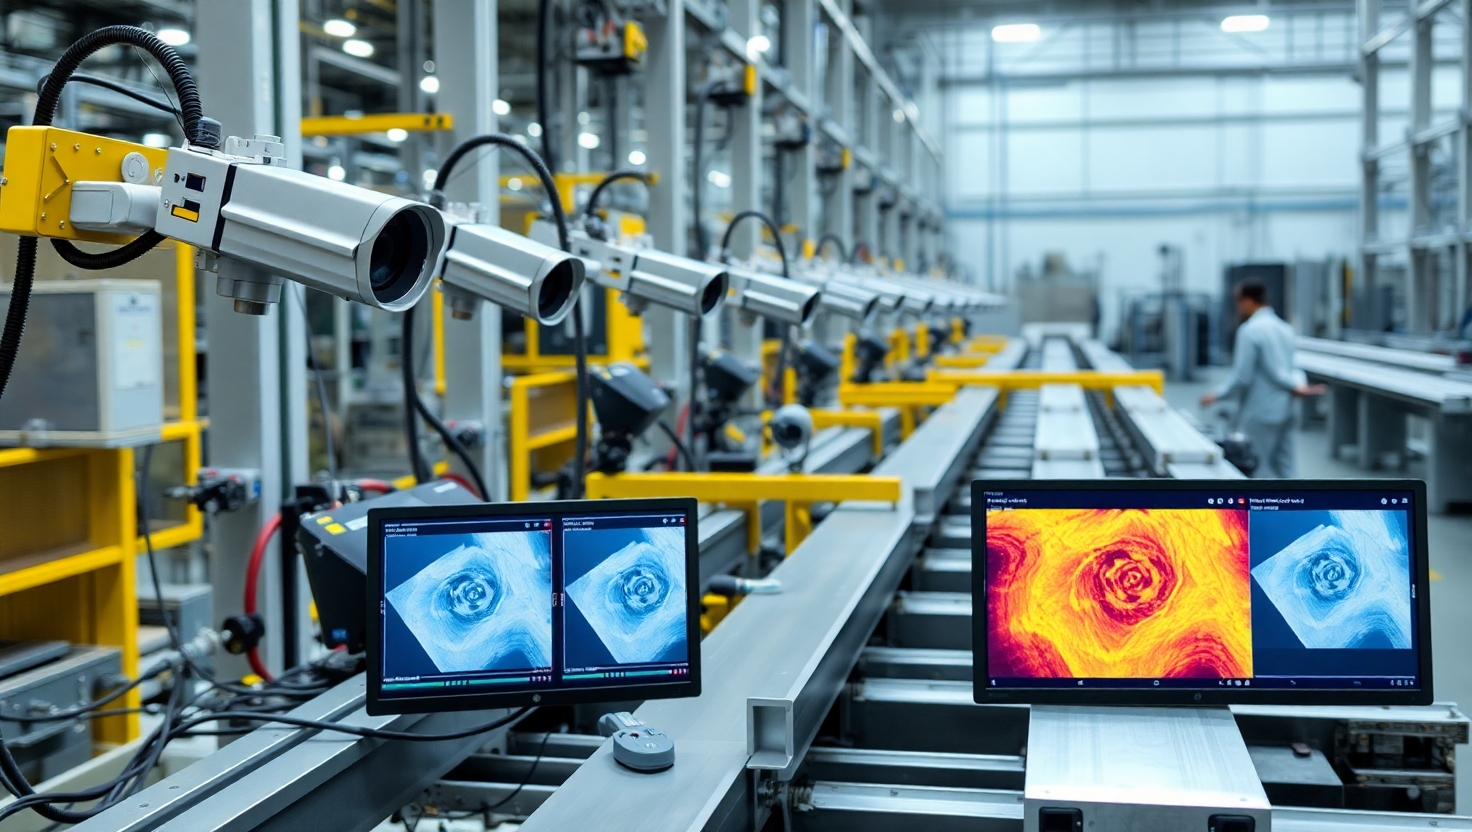
Computer vision systems use high-resolution cameras combined with AI algorithms to analyze product surfaces as they move along the production line. The process typically includes:
- Capturing real-time images using line scan or area scan cameras
- Preprocessing images to enhance contrast and features
- Applying convolutional neural networks (CNNs) to identify defects
- Flagging and categorizing anomalies like dents, scratches, or oxidation
Common Surface Defects in Aluminium
Aluminium manufacturing is prone to several types of surface issues, including:
- Pitting: Tiny holes or depressions due to chemical reactions
- Scratches: Linear abrasions often caused by tool misalignment
- Blisters: Trapped gases under the surface
- Streaks: Uneven cooling or extrusion flow
- Oxidation: Surface corrosion due to poor storage or processing
Real-Time Image Processing
Vision systems analyze surface data in milliseconds using GPU acceleration. High-speed production lines (up to 50 m/min) require fast frame rates and real-time inference. This ensures defective profiles are rejected immediately, reducing material waste.
Integration with Production Lines
These systems can be integrated directly into extrusion lines or post-processing stations. Features include:
- Trigger-based image capture synced with conveyor motion
- Edge computing for on-device analysis
- Alerts and automated rejection of defective products
- Data logging for SPC (Statistical Process Control)
Benefits of Computer Vision in QC
- Increased inspection accuracy
- 24/7 consistency without fatigue
- Reduced customer complaints and returns
- Lower labor costs for manual inspection
- Data for continuous process improvement
Challenges and Limitations
- High initial investment in hardware and software
- Requires training with a large dataset of defect images
- False positives due to surface reflections or dirt
- Difficulty inspecting complex geometries
Future of Surface Defect Detection
AI-based visual inspection will continue to evolve with better training models, 3D vision systems, and infrared cameras for subsurface analysis. As aluminium production becomes more automated, computer vision will become the standard for inline defect detection and traceability.
Conclusion
Computer vision is revolutionizing surface inspection in aluminium manufacturing. By enabling real-time, consistent, and accurate detection of pitting, scratches, and other defects, it ensures higher quality standards, minimizes rework, and improves customer satisfaction. As the industry adopts smart factories, vision-based quality control will play an indispensable role in future production lines.
Disclaimer
This article is for educational purposes only. Please consult machine vision providers for customized integration into your plant.

